Enable Microphone Access for Smart Scribe
If you have inadvertently denied microphone access, you can trigger the access request again in Smart Scribe.
Before you begin
About this task
Procedure
To trigger the microphone access request again:
-
To locate the Temp folder either:
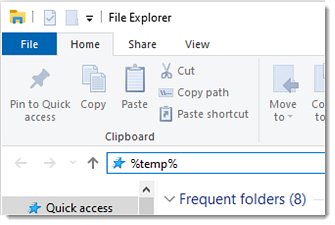
- In the Windows File Explorer:
- Click the Address bar at the top and clear the current folder name or path.
- To locate the Temp folder, in the
Address bar, type
%temp% and press
Enter. Usually the location of your
Temp folder is:
C:\Users\YourUserName\AppData\Local\Temp
- Press Windows+R and in the
Run window:
- In the Open field, type %temp%.
- Press Enter or click OK.
- In the Windows File Explorer:
-
Open MedicalDirector Clinical
and log into the required AI-integrated application with
 Smart Scribe. For more information about configuring Smart Scribe, see
Using Smart Scribe.
Smart Scribe. For more information about configuring Smart Scribe, see
Using Smart Scribe.
-
To use your system microphone, in the prompt message, click
Allow.
