Backup Procedure
Before you begin
- During the backup process, you will be asked to specify a location to save the backup to. You can either choose to accept the default location, or specify one of your own. If you choose the latter option, it is advisable that you create that location (directory) now, if you haven't already done so.
- Do you run multiple MedicalDirector databases? If so, you will need to know the name of the
Server / Database combination you want to backup. This can be determined via the
System
Configurations Manager. Ensure you get settings for your Live
configuration. Make a note of these settings.

- If you want to backup your Clinical/Pracsoft database, you can proceed directly to the instructions now.
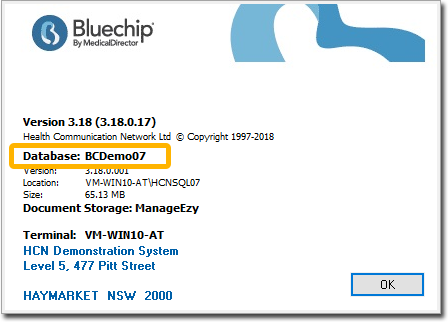
- If you want to backup your Bluechip database, you will first
need to determine its name. To do this, within Bluechip select . Make a note of the database name, as you will need it later. Proceed
to the instructions now.
Procedure
-
Open SQL Server Management Studio:
- From the Task Bar (if available)
- Click
 .
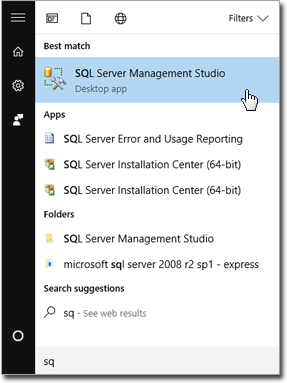
. - From the Start Button (Windows 8 and above)
- Click Start
 .
. - Type SQL Manage. Locate and click SQL
Server Management Studio.
- Click Start
- SQL Server Management Studio opens, and you are prompted to log in. Select the HCNSQL07 option, and click Connect.
-
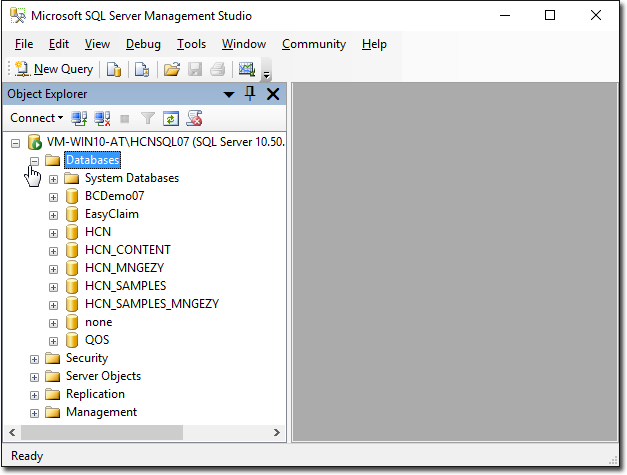
SQL Server Management Studio opens. Expand the Databases list.
-
Locate the database you want to backup.
- For Clinical/Pracsoft, this will be the HCN database.
- For Bluechip, you will need to know the name of your database.
-
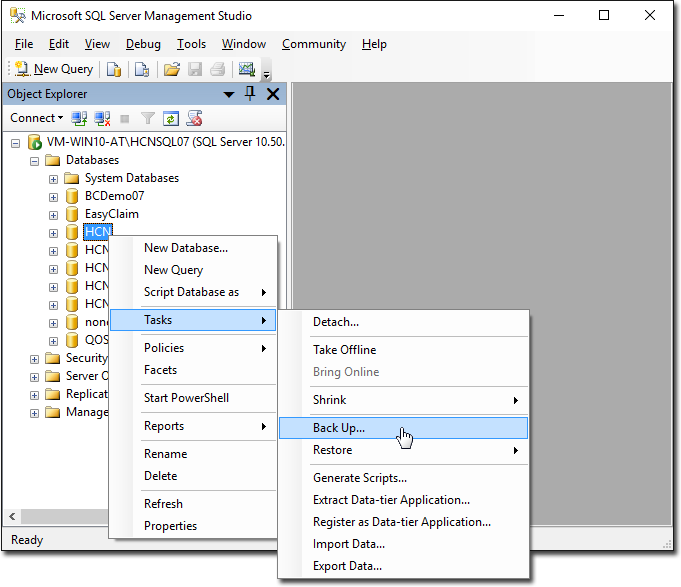
Right-click the database, and then select .
-
The Back Up Database window appears.
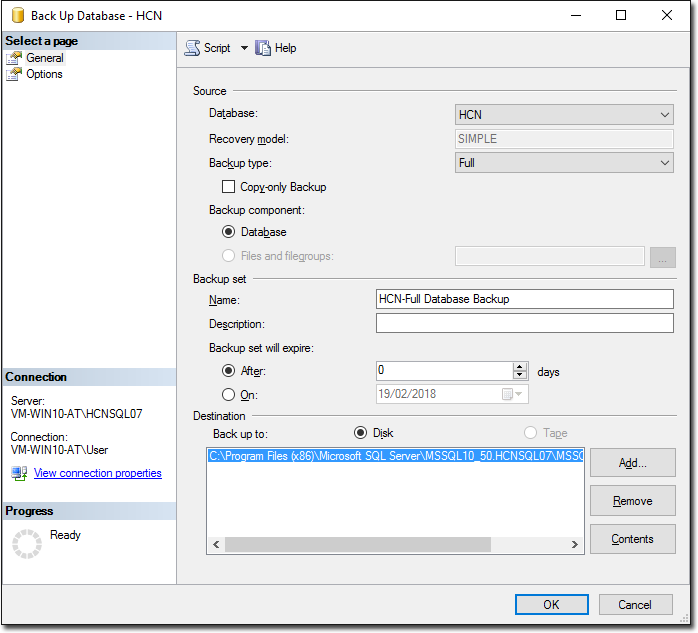
- Locate the Destination section, and the Back up to path. Note that a default backup path and backup name is selected for you. You can choose to either:
- To specify a custom path/name combination, you must first remove the default provided. Click Remove to remove it from the list.
-
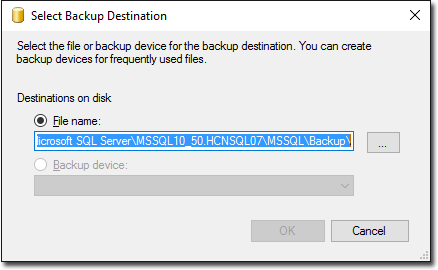
To specify a custom path/name combination, click Add. The
Select Backup Location window appears.
-
Click
 You will be prompted to select the location to which the
backup will be saved.
You will be prompted to select the location to which the
backup will be saved.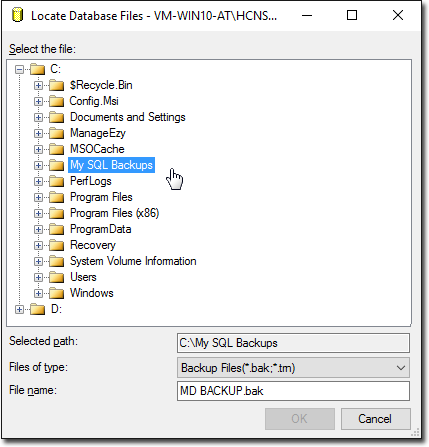
-
Name the backup file.
- Ensure you use the .bak file extension - you must enter this as part of the name.

- Click OK. You will be returned to the Select Backup Location window.
- Click OK. You will be returned to the Back Up Database window.
-
Click OK to start the backup. When completed, a confirmation
will appear.

-
Click OK and close SQL Server Management Studio.
- It is recommended that you then copy this backup file to an external hard drive.