Patient Photos Bulk Import
Import photos to add to patient records.
Before you begin
Procedure
To bulk import Patient Photos:
-
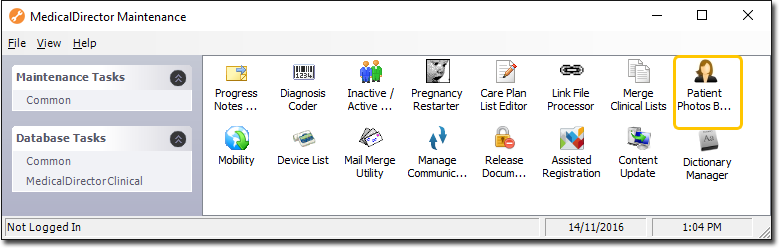
Locate and double-click the MedicalDirector Maintenance icon
 from your desktop. The window appears.
-
Select the menu item.
-
Double-click
 Patient Photos Bulk Import. (Optional) If
this is the first time you have tried to run the Patient Photos Bulk Import utility
during this session of working in MedicalDirector Maintenance, you will be prompted to select a Configuration, and enter your Username
and Password.
Patient Photos Bulk Import. (Optional) If
this is the first time you have tried to run the Patient Photos Bulk Import utility
during this session of working in MedicalDirector Maintenance, you will be prompted to select a Configuration, and enter your Username
and Password.
-
The Patient Photos Bulk Import (Unassigned Photos) window
appears.
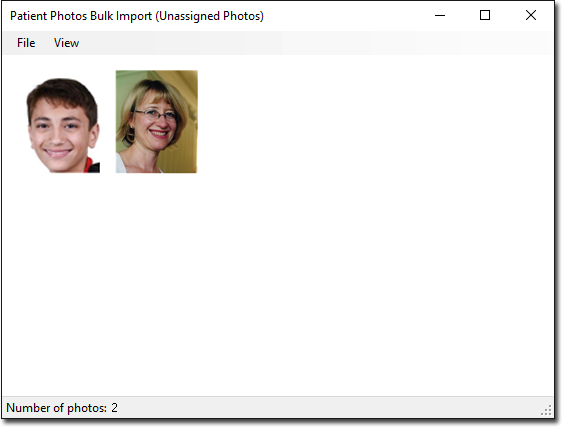
To import new photos, select Locate and select the photos you want to import. You can remove photos you have imported by right-clicking them and selecting Delete Photo. -
To assign a photo to a particular patient's record, double-click the photo. The
Select Patient window appears.
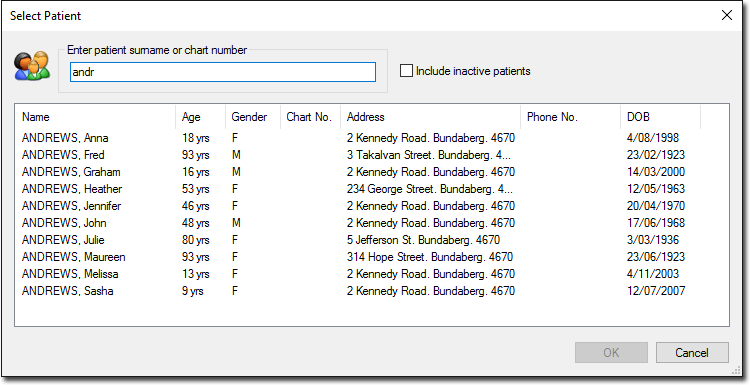
Locate and double-click on the patient record you want to assign the photo to. To do this, type the surname of the patient into the text box at the top of the window. As you type each letter of the surname, MedicalDirector Clinical displays names that match. Where there are multiple patients with the same surname, you can enter a surname or partial surname followed by a comma and the first letter or letters of a first name. For example, entering "ANDR,J" would find the 'Andrews' whose first name begins with 'J'. - The Change Patient Photograph window for this patient appears. Use this window to assign the photo to the patient.