Holding File
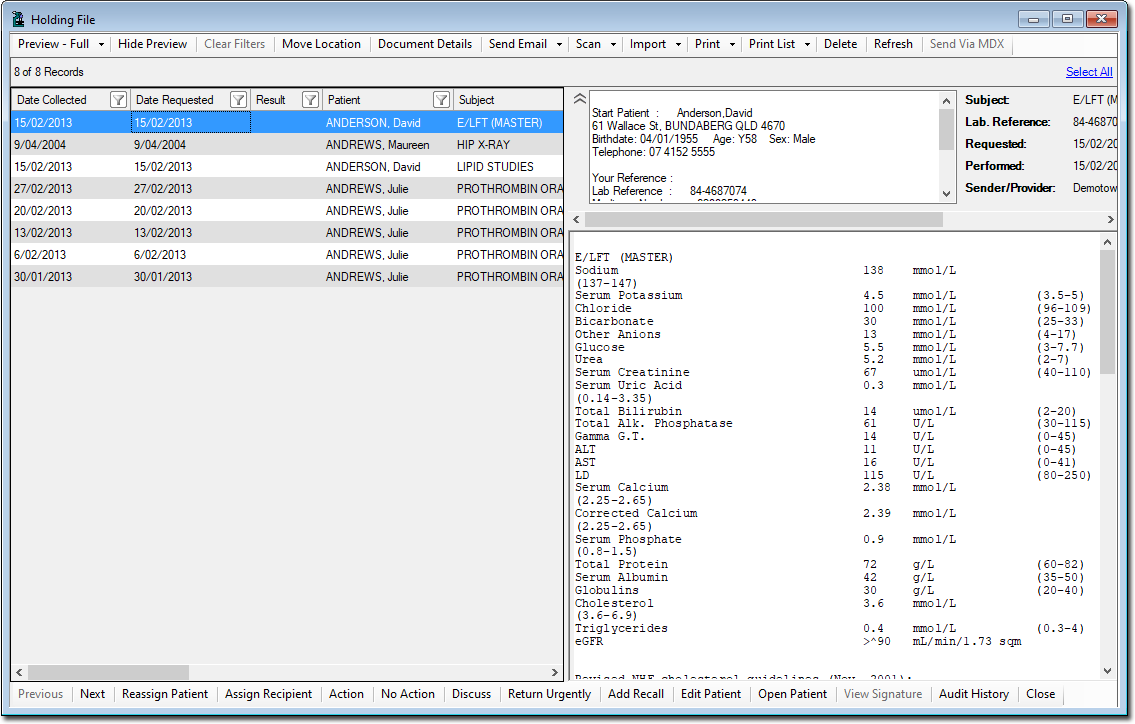
The Holding File contains Investigations Results returned from your provider that have not yet been examined and saved to a patient's record.
The Holding File is accessible to practitioners with top-level access only.
Tip:
Non-clinical staff, and practitioners without top-level
access can still import or scan files in the Scan/Import Correspondence
window.
The Holding File also contains other correspondence, either:
- Scanned or imported from the Scan/Import Correspondence window if you set Show Scan/Import Correspondence in Holding File in Investigation Options.
- Scanned or imported to the Holding File itself. From the Holding File you can scan or import results and other documentation and assign them to patients.
To open the Holding File, select or Check Holding File (Current Patient), or press F5.

Using the Holding File
To rearrange or change the results displayed:
- Rearrange the column order by clicking and dragging a selected column, and dropping it to a new location.
- Sort the list of Results by clicking on any column heading. The sort order of a
column is indicated via the direction of the
 Caret icon.
 - Multiple records can be selected simultaneously using the CTRL or SHIFT keys, as per standard Windows functionality.
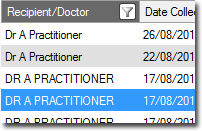
- Simple/Advanced filtering can be applied to this window. In the example above,
the Recipient/Doctor column has been filtered:

See Filtering/Searching Correspondence Records for more information.
| Button | Description |
|---|---|
| Preview | Controls the preview display of the selected document.
Click
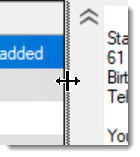
Tip: To resize the preview panel,
click and drag the divider.  |
| Hide Preview & Show Preview | Hide or reveal the preview pane. |
| Clear Filters | Click to clear all filters applied to the results. If this button is not available, no filters have been applied. |
| Move Location | Click to move selected results to a specific tab in the patient's record, either Documents, Letters or Results tabs in the Clinical Window, or the ECG tab of the Tool Box. |
| Document Details | Click to edit the details of a selected result and view large document descriptions. |
| Scan | Click to scan a document directly into the Holding File, after which you can assign the document to a patient using the Document Details button. |
| Import | Click to import a document directly into the Holding File, after which you can assign the document to a patient using the Document Details button. |
| Print and Print To | Prints every page of every multi-page document within every
selected record:
|
| Print List and Print List To | Prints a list of selected documents. Note that the details
of the selected documents are not displayed on the printout.
|
| Delete | Click to delete selected entries. |
| Refresh | Refreshes the window. |
| Zoom | For records that can be zoomed, such as photographs, select a zoom option from the list. |
| Open Externally | For records that must be opened by a third-party application, opens the selected document in that application, externally to Clinical. |
| Button | Description |
|---|---|
| Previous & Next | Click to scroll through the list of records, displaying the details of each, one-by-one. |
| Assign Patient & Reassign Patient | Assigns the selected result to the patient. If no matching patient record can be found, you will be prompted to either add a new patient or search for an existing patient to match the result to. |
| Assign Recipient & Reassign Recipient | Click to assign the selected result to a specific recipient. If the result is already associated with a recipient, clicking this button allows you to assign it to another. |
| Action | Open the Action window where you can insert notations and comments from a list of reusable entries. You can also create custom actions and comments for later use. For more information about Actions, see Adding Results Manually. |
| No Action | Click to indicate that no actions are required for the selected result. |
| Discuss | Click to indicate that you wish to discuss the result with the patient. |
| Return Urgently | Mark the selected item as 'Return Urgently'. |
| Add Recall | Click to create a Recall notification for the patient. |
| Add Outstanding Action | Add an outstanding action, such as an INR review and due date for the action. |
| Add Comment | Add a comment to the result which is displayed in
the Comment column of the Holding File and the
Actioned Items and
Correspondence tabs in the patient record. To update
the comment, click Add Comment again. The comment
is added to the Action window. To add it to the list
of reusable comments, click |
| Edit Patient | If the demographic details on the result are incorrect and do not exactly match an existing patient in the database, edit the demographics in the result, ensuring that the information is correct for the intended patient. After editing, MedicalDirector Clinical will try to match the result with a patient in the database again. |
| Open Patient | Click to open the clinical record of the patient associated with the selected record. |
| View Signature | Click to view details about the digital signature used for a selected email in the Holding File, imported via MDExchange. |
| Audit History | Toggles half of the viewing area to display an audit trail
of changes made to a selected Result. The following events are tracked:
|
| Close | Closes the Holding File. |

 Add.
Add.