Workflow 3 – Via the Scan/Import Correspondence Window
Before you begin
(store to the Holding File - Manual Transfer)
This workflow assumes you have the Show Scan/Import Correspondence in Holding File option un-ticked. This option is available via Investigations options.
The Scan/Import Correspondence window is available to all users.
Procedure
-
Log into Clinical as
any user, select . The Scan/Import Correspondence window appears.
When opening this window, the default view is filtered to display only those items
scanned or imported by the user currently logged into Clinical. To display items
scanned/imported by all users, click the Clear Filters
button.
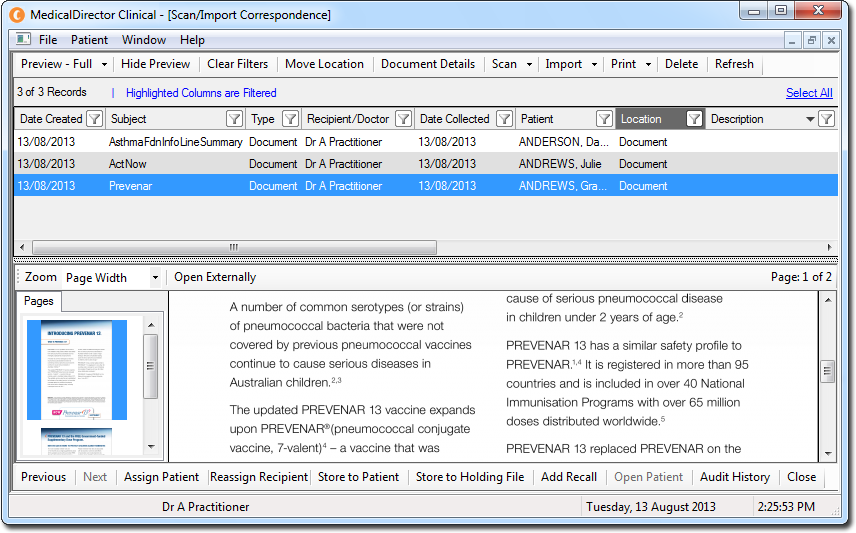
Please see Scan/Import Correspondence Window for detailed information about this window. -
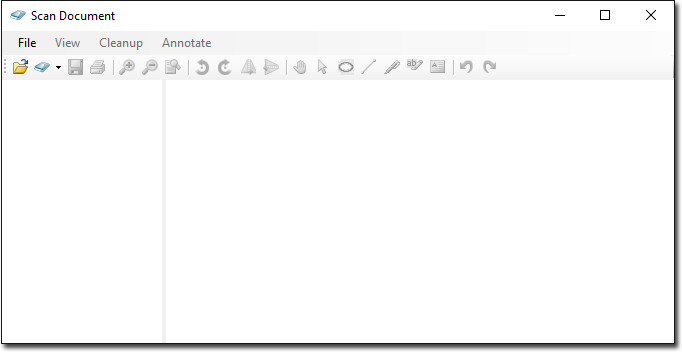
If you have chosen to perform a scan, your third-party scanning software will be called upon. It is with this software you perform the scan, after which you will be returned to Clinical and presented with the Scan Document window.
-
Upon completing the scan you will be able to see a preview of the scan you have conducted, along with all the other scans you have added to this document. Each thumbnail on the left-hand side of this window represents a page that you have either scanned or imported into this document. The example below shows that the current document consists of two scanned pages. From here you can delete pages, rearrange pages, and add annotations.
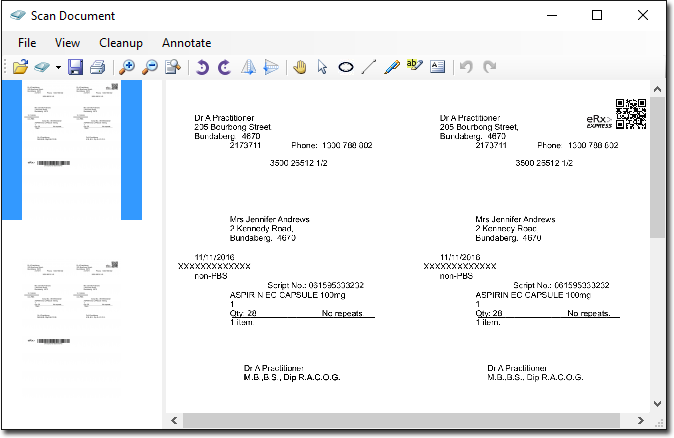
Please see Scanning Documents for more information about this window. -
Click the
 button to save the current document.
-
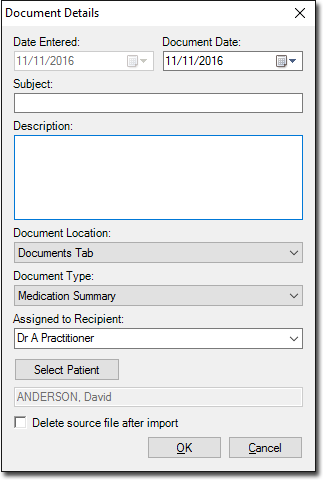
The Document Details window appears. Enter details as desired. It is advisable to associate this document with a patient, and assign it to a recipient at this time also.