On the New Server
Transfer your backed-up data to a new server and configure it.
Before you begin
About this task
Procedure
To configure a new server:
-
Install MedicalDirector Clinical
application:
-
Restore the HCN Data:
- Copy the backup from the external media to the local machine.
- Open HCN Maintenance.
- Select .
-
Run the
 Restore utility.
-
For sites, restore manually as follows:
-
Open the
 Backup utility.
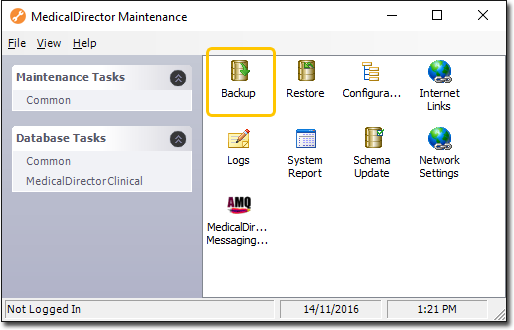
-
Press the
 ellipse menu next to Database
Name.
ellipse menu next to Database
Name.
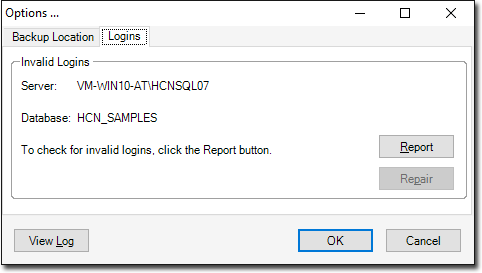
-
In the Options panel, select the
Logins tab.
-
Open the
-
Reset the ManageEzy paths:
- Open HCN Maintenance and select Maintenance Tasks.
-
Run the
 Configuration utility.
- In the Configuration list, select MD Live Data and click Update.
- When prompting, click the Use UNC Path button.
-
Configure Schedule Document Import (SDI):
-
Run the
 Manage Communications utility.
-
Run the
-
Open the MedicalDirector Clinical application,
register MD Exchange:
- Select .
- To complete the registration, follow the prompts.