Generating a Recall in Insights
Before you begin
The following steps show how you might generate a recall for patients. In this example we are going to generate a recall for an Asthma Review for those patients who have an active condition of Asthma.
Procedure
-
Select .
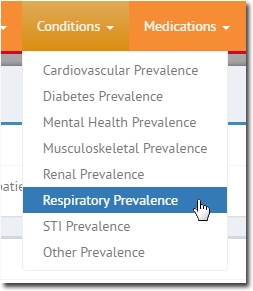
-
The associated visualisation appears.
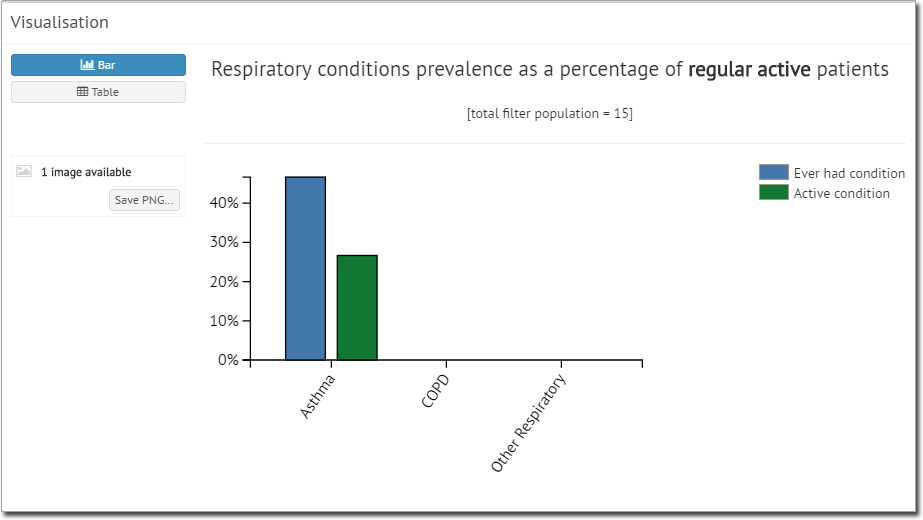
-
In our example, we want to see only those patients with an active condition of 'Asthma', so we select (click) the associate column in the visualisation.
- When you select one or more regions in this way, your selection is shown at left (i.e. "1 region selected), and you are presented with a View button.
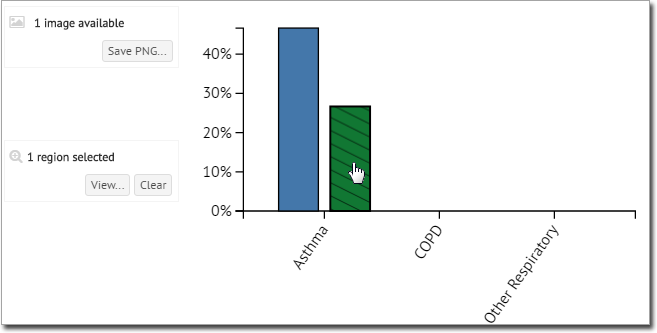
-
Click View. The list of associated patients appears.
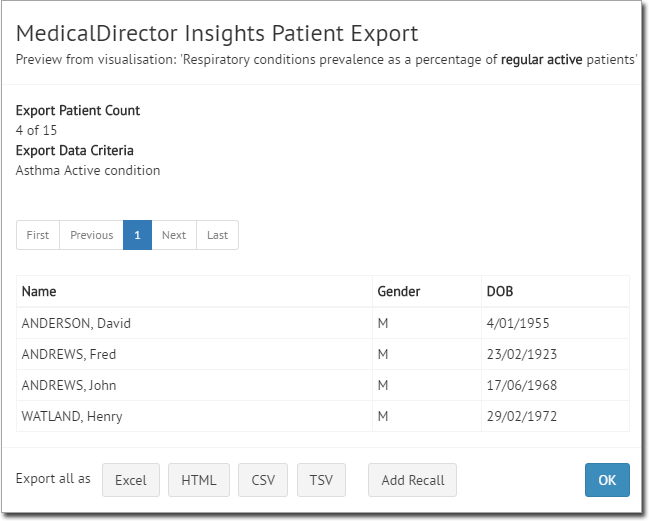
Note also that you can access such lists of patients via the supplied reports.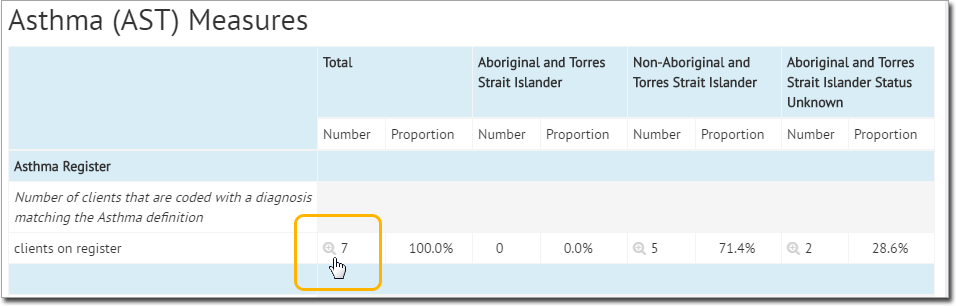
-
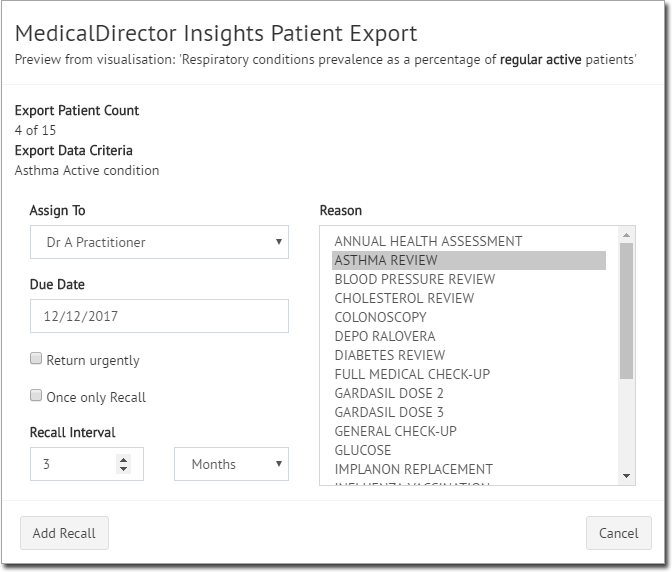
Click Add Recall. You are presented with the Recall details
for you to configure.
- Indicate the Practitioner the Recall is being created on behalf of.
- Indicate the reason for the Recall. In our example, we have selected 'Asthma Review'. If you select a reason from the list, its schedule settings are loaded for you automatically. You can modify these if you want, and such modifications will not affect the reason definition, nor will they affect any Recalls already saved.
- Indicate whether this is a once-only Recall, or a recurring Recall. For recurring Recalls, you must also indicate the interval between Recall visits.
- For once-off Recalls, this is the date on which you want the patient to return to the practice.
- For recurring recalls, this is the date on which you want the first return visit to occur.
- Indicate the Recall due date.
-
Click Add Recall. You will be prompted to confirm this
action.
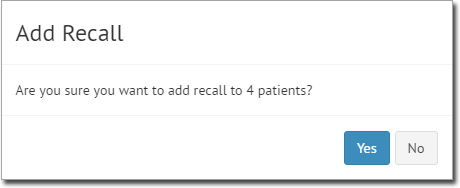
- Click Yes to confirm.