Exporting Demographic Data
Export patients' demographic data from Clinical if required.
Procedure
-
Locate and double-click the MedicalDirector Maintenance icon
 on
your desktop.
-
In the MedicalDirector Maintenance window, select .

-
Double-click
 Import /
Export.
- (Optional) If this is the first time you have tried to access Import/Export during this session of working in MedicalDirector Maintenance, you will be prompted to select a Configuration, and enter your Username and Password.
-
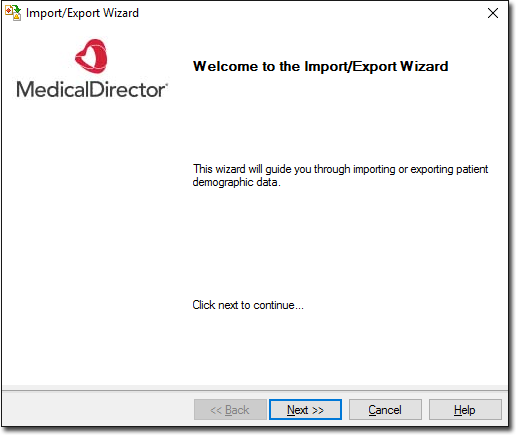
In the Import/Export Wizard, click Next
to continue.
- Select Export and click Next to continue.
- In the Data Type window, select Demographic and click Next to continue.
-
In the Format window, you can add your own file formats or
edit existing ones. To add or edit a file format, select the file to edit and click
Add or Modify.

To delete a file format, select the file to delete and click Delete. -
(Optional) When adding or modifying the
file format, the Format window is displayed.
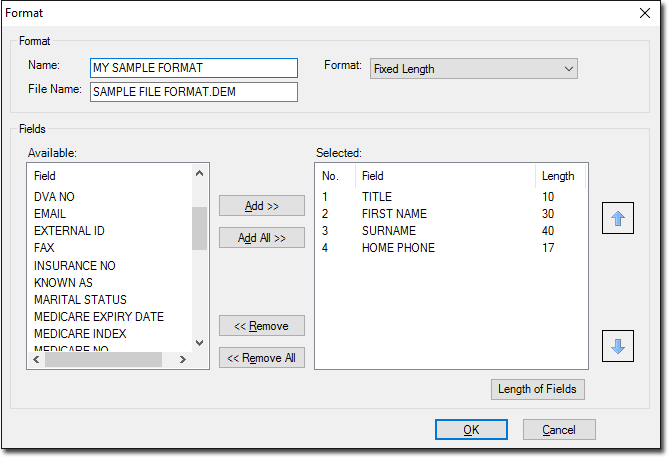
- Name - Enter a name for the file format.
- Format - Select a format style, such as Comma Separated or Tab Delimited.
- File NameEnter a name for the file. Notice that you must include a three-character file extension.
- Fields - Select which information you want to export.
- Use the up arrow or down arrow to control the file format as appropriate.
- Click Length of Fields to manually configure the
length of each field to be exported.

- Click and drag the blue field divider lines to resize the field width to suit your needs.
- To select a file that you already have access to for use as a template
for the format you are creating,click
 Ellipsis. The area marked in red indicates the
amount that particular field has been resized.
- Click OK when you are satisfied with the results.
- Click OK on the Format window to save the format.
-
In the Select Patients window, in the
Search field, enter a search criteria for the file format.
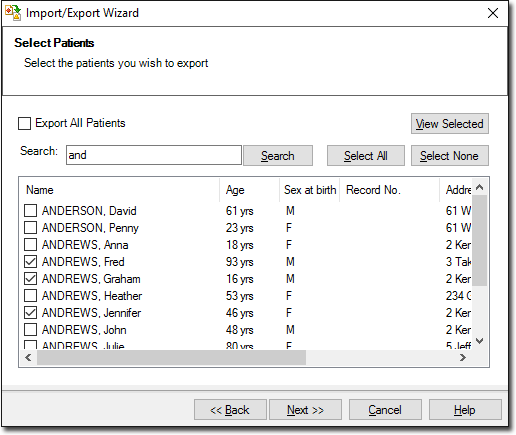
Either:- Click Select All to select all available names and categories. The Export File window is displayed.
- Click Select None to clear names and categories.
- Click Next to continue.
-
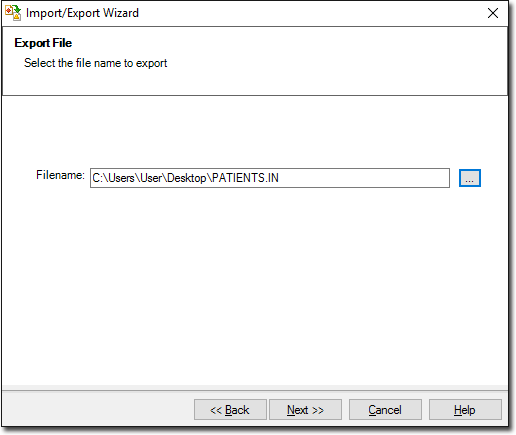
In the Export File window, accept or change the file name
using the
 Ellipsis and click Next to
continue.
-
The Exporting Data process begins. You will be notified upon completion.
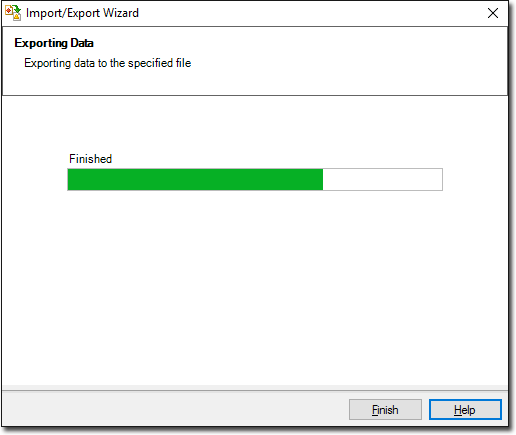
- Click Finish to exit the export wizard.
