To Export Clinical Data
Before you begin
Requires you have permissions access.
Procedure
-
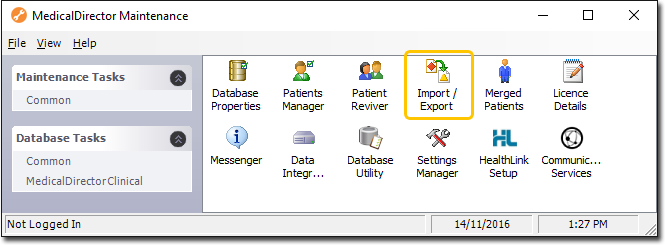
Locate and double-click the MedicalDirector Maintenance icon
 on
your desktop. The MedicalDirector Maintenance window
appears.
on
your desktop. The MedicalDirector Maintenance window
appears.
-
Select the menu item.
-
Double-click
 Import/Export. (Optional) If this is the first
time you have tried to access Import/Export during this session of working in
MedicalDirector Maintenance, you will be prompted to select a Configuration, and enter your Username
and Password.
Import/Export. (Optional) If this is the first
time you have tried to access Import/Export during this session of working in
MedicalDirector Maintenance, you will be prompted to select a Configuration, and enter your Username
and Password.
-
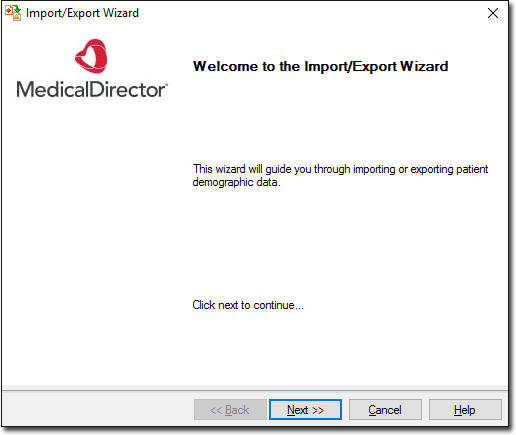
The Import/Export Wizard appears.
-
Click

to continue. -
Select the Export option and click
to continue.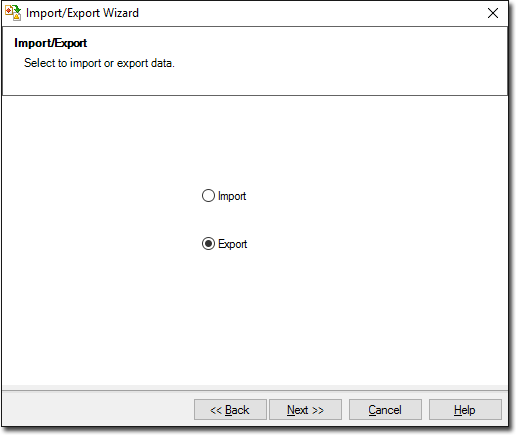
-
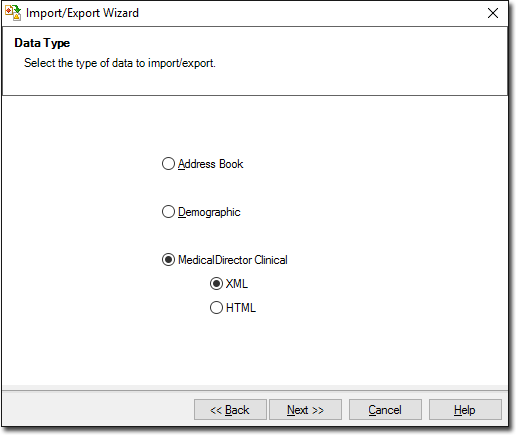
The Data Type window is displayed. Select the Clinical option. The XML option is selected by default. Select the XML or HTML option as appropriate.
Although you can export patient clinical data in HTML format, you cannot import it in HTML format i.e. the HTML format is provided only for viewing patient data externally to Clinical. As such, if your purpose for exporting patient clinical data is to give it to another practice for importing it to their database (for example), you must select the XML format.
-
Click
to continue. The Select Patients window is displayed.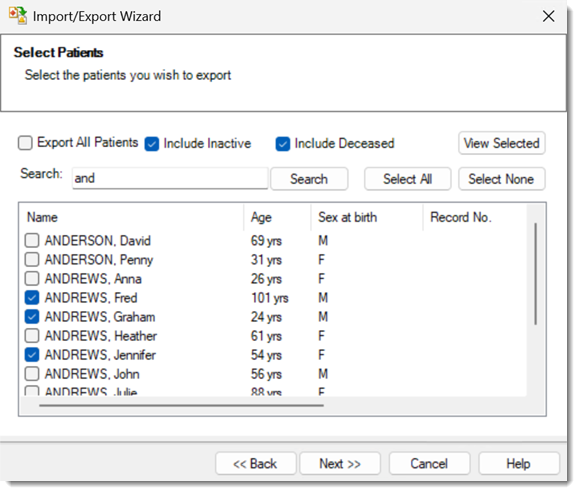
-
(Optional) By clicking View Selected
(as indicated above) you can view all of the patients you have selected regardless of
their alphabetical ranking, as displayed by the following image.
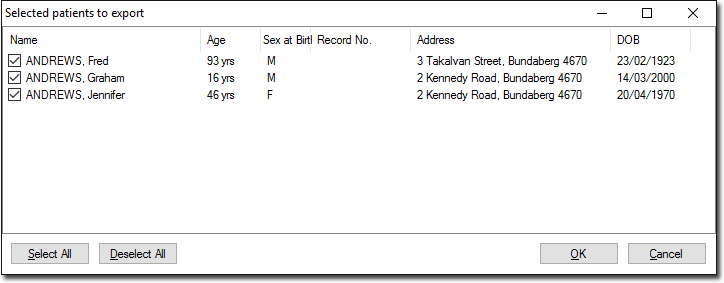
This is a convenient way for you to view all of the patients you are considering exporting, and make final changes if necessary. When you are satisfied with your selection, click OK to return to the Import/Export Wizard.
-
Click
when you are ready to proceed. -
The Export File window is displayed.

-
Click

to browse for a directory to store the file.If you have selected a single file to export, the Browse window will expect you to name the exported file, with the default name offered reflecting the name of the single patient file you have selected (e.g. John_Smith.XML)
If however you have selected multiple files, the browse window will expect you to select a folder to store all the exported files into. Within the folder you select, a second folder will be created when you perform the export. It is within this second folder that your exported files will be located. Again, each file is named to reflect the name of the associated patient.
-
When you are ready to perform the export, click
The Exporting Data process begins. You will be notified upon completion.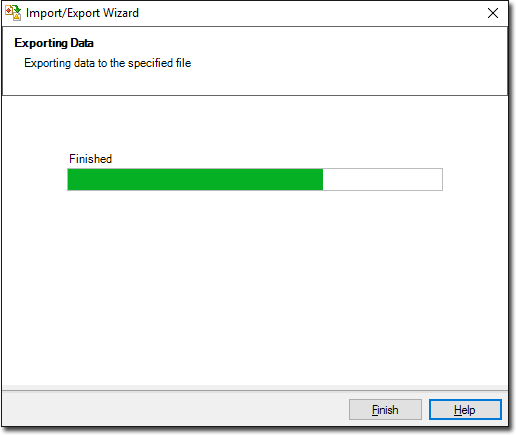
-
Click

to exit the export process.