
Importing Demographic Data
Import the required format file of patients demographic data.
About this task
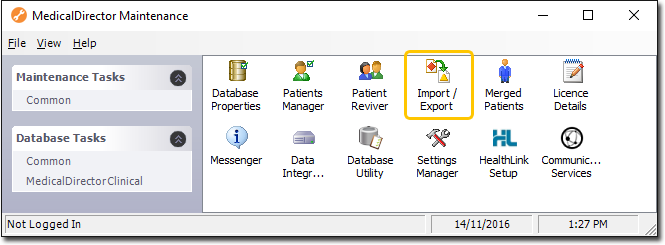
 MedicalDirector Maintenance window.
Procedure
To import data:
-
Locate and double-click MedicalDirector Maintenance on your
desktop.
-
In the MedicalDirector Maintenance, select the menu item.
-
Double-click
 Import/Export. (Optional) If
this is the first time you have tried to access
Import/Export during this session of working
in MedicalDirector Maintenance, select
Import/Export. (Optional) If
this is the first time you have tried to access
Import/Export during this session of working
in MedicalDirector Maintenance, select
 Configuration and enter your
Username and Password.
For more information, refer to Configuration.
Configuration and enter your
Username and Password.
For more information, refer to Configuration.
-
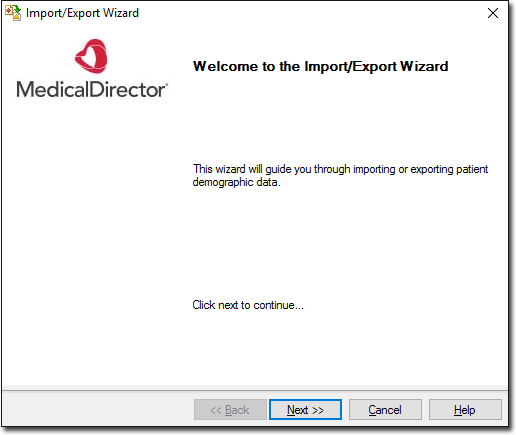
The
Import/Export Wizard displays. In the
Import/Export Wizard, click
Next to continue.
-
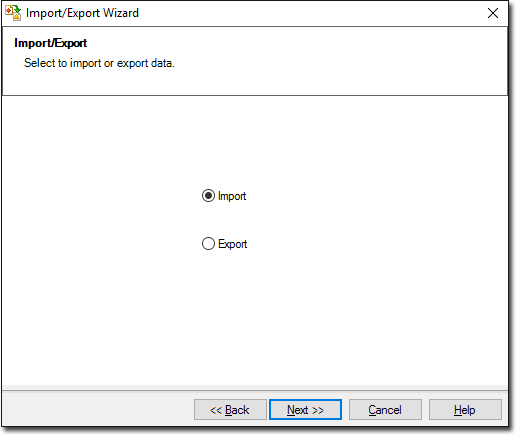
In the
Import/Export window, select .
-
In the Format window, select a file format that corresponds to
the file you want to import. If required:
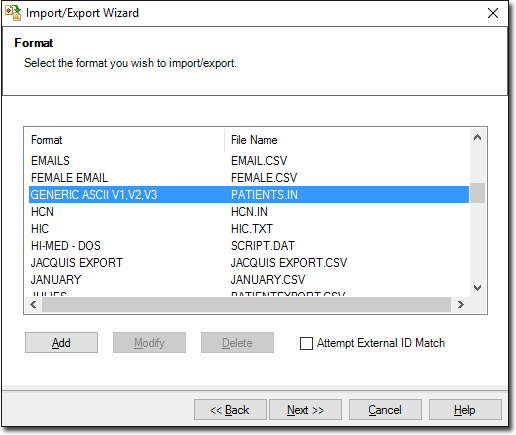
- To add a new file format before importing the associated file, click Add.
- To edit an existing file format, select it from the list and click Modify. Some file formats cannot be modified.
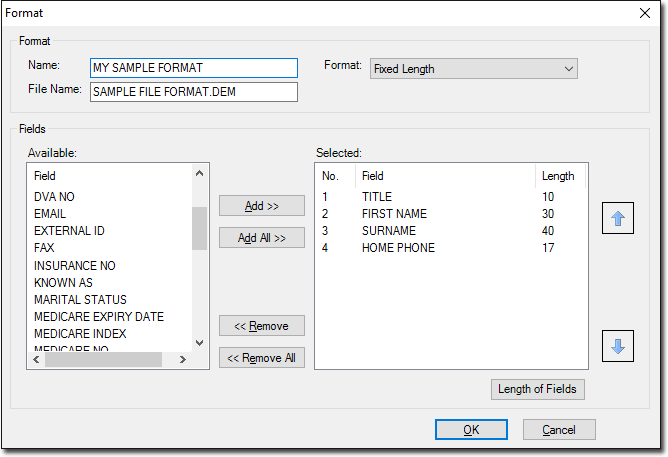
- In the Name field, enter a name for the file format.
- In the Format field, select a format style, such as Comma Separated or Tab Delimited.
- In the File Name field, enter a name for the file. You must include a three-character file extension.
- From the list, select which information you want to import and click
Add >>.Tip:To add all available fields to the Selected section, click Add All >>.
- Use
 Up arrow or
  Down arrow to control the file format as appropriate.
 - Click .
-
In the Import File window, to import a file:
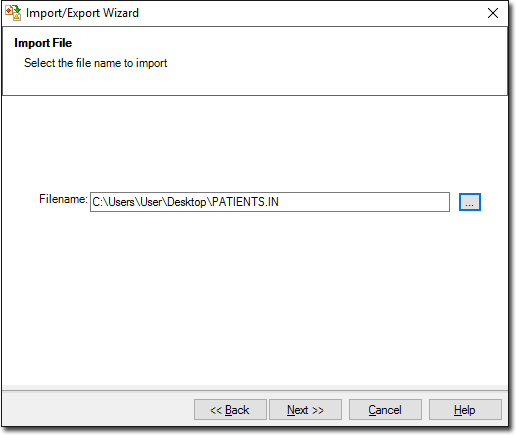
- In the Filename field, click the
 Browse icon.
 - From your local drive, select the file you want to import.
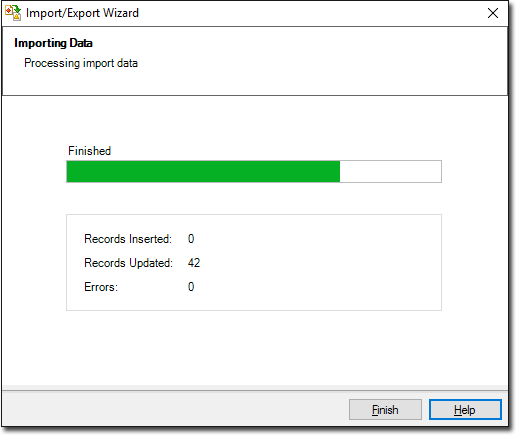
- Click Next to continue. The import data
processing begins. You will be notified when it completes.
- In the Filename field, click the
-
Click Finish. If you are linked or planning to link to a
billing package:
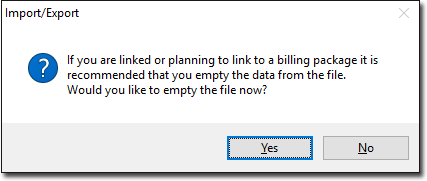
- To clear the contents of the file you have imported, click Yes.
- Click Finish.